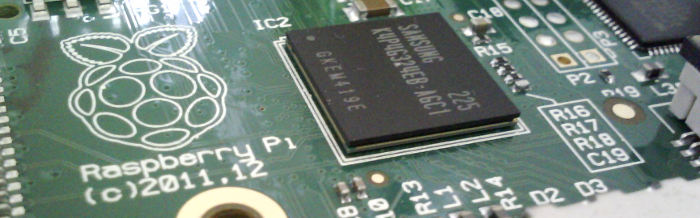
![]() We’ve decided to get ourselves a Raspberry Pi and use it to build a mini retro games machine that we can plug into the telly.
We’ve decided to get ourselves a Raspberry Pi and use it to build a mini retro games machine that we can plug into the telly.
Have Your Pie and Eat It
To achieve our dream we’re going to use RetroPie which is a software package that combines existing open source technologies to pull together an all-in-one retro gaming centre on your Raspberry Pi.
It’s free and by the sounds of it relatively easy to set up.
We’re going to have a pop at setting it up and let you know how we get on warning you of any pitfalls we encounter along the way.
RetroPie Alternatives
There are alternatives to RetroPie most notably RecallBox. Both RetroPie and RecallBox have their own merits but in summary, from what we can tell, RetroPie supports more systems than RecallBox but RecallBox is easier to setup and get working.
We chose RetroPie purely because it supports Commodore Amiga and Dragon 32 which it appears RecallBox currently does not.
We could of course just use our desktop or laptop to run any of the many emulators out there, but we specifically wanted something small we can leave behind the TV and fire up when we get a spare five minutes.
What We Need
The first step is to order the bits required, this is what we need.
- A Raspberry Pi, the latest version is the model B Version 3 which was released in February 2016 and comes with onboard Wi-Fi and Bluetooth.
- An SD card to store RetroPie on (we’ve gone for 8 GB).
- A power supply.
- A case (not strictly necessary but nice to have).
We ordered these bits from ModMyPi which looks like a great place to get your bits and also to get free advice from their tutorials section. We’ve only just ordered so we’ll let you know how we get on with ModMyPi but so far so good, the website was a breeze to use.
Our order came to just shy of £51 including delivery, let’s hope it’s money well spent.
We also need an SD card reader/writer, an HDMI lead, a USB game pad and a keyboard/mouse. We already had these knocking around.
Other Places to Buy
You could of course also buy from Amazon where they have the Raspberry Pi 3 Official Desktop Starter Kit (16Gb, Black) which includes the Pi, a case, a 16G SD card and a power supply. Currently that’ll set you back £43.50 which is £7.50 less than we paid…and it has a bigger SD card. Damn, should’ve calmed down and shopped around. Never mind, onwards and upwards.
Ebay also have a good selection of . Make sure you get the latest version of the Raspberry Pi though currently the version 3 model B.
Couch Potato
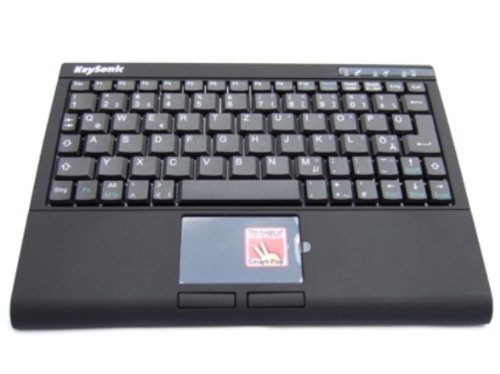
To achieve this we’re going to use a wireless keyboard and pointing device to avoid the restrictions of short cables.
We’ve been using the Keysonic ACK-540RF+ wirelesss keyboard (pictured) for a couple of years now and have found it to be good. It’s got a built-in touchpad, it’s sturdy, it’s a good size and it’s reliable.
There are smaller, more modern alternatives to this keyboard on the market which may suit you better, have a surf and see what suits you best.
Waiting for the Man
So now we think we’re ready to go and eagerly await the next visit from the postman.
We’ll write again when we’ve got the bits and let you know how we get on setting it all up. Until then, cheerio.